
Microsoft enables remote data access and file sharing between devices on the same network. This method of exchanging information and resources comes in handy when using multiple devices at once.
Users may occasionally run into problems, though, which can make the experience frustrating and time-consuming.
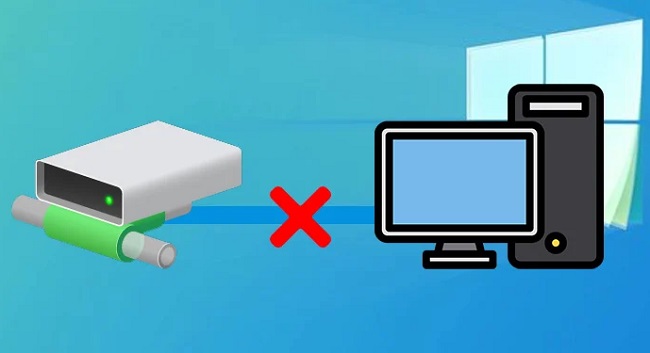
The “network path name was not found” error is a typical example of such a problem that arises when trying to establish a connection to a remote device. If you’re experiencing a similar issue, read on for a discussion of six troubleshooting techniques that should have your problem resolved in no time.
It’s important to double-check the names of the paths.
First, make sure you typed the correct path name when you ran into the “network path name was not found” problem. If the route name contains even a single typo, the operating system will be unable to locate the associated network.
While you’re doing it, make sure the sharing option is turned on for the device you wish to send files to. If it isn’t already, turn it on and then try again to carry out the operation that was failing before.
Here’s how to make the remote computer’s specified drive accessible for file sharing:
- To access the drive’s settings, right-click it and select Properties.
- Proceed to the Sharing tab in the resulting dialogue to examine the Network Path’s current state.
- When it reads “Not Shared,” use the “Advanced Sharing” link.
- In the options that pop up, select “Share this folder,” taking note of the drive’s Share name.
- When you’re finished, select Apply > OK to commit your changes.
Having completed the above procedures, you can now test to see if the drive is available.
Also Read:
For The Time Being, Turn off Your Antivirus Software.
Another typical cause of people being unable to join networks, exchange files, or instal software from unofficial sources is an overly cautious antivirus programme. While it is the function of antivirus software to detect criminal activity and shut them down, there are occasions when the software mistakes safe operations for dangers and shuts them down as well.
We advise temporarily disabling any third-party security software on your OS before attempting to connect to the other machine and share data. If the antivirus was causing the difficulty, deactivating it should remedy the issue for you.
If you are running Windows Defender, you can also try turning it off to see if that makes a difference. It is important to remember that disabling your antivirus software only for the duration of file sharing can leave your computer vulnerable to viruses and malware.
Use an IP Address to Establish a Connection.
You can also connect to the remote computer using the IP address. Here, we’ll use the Command Prompt to get things done.
Here is what you need to do:
- Launch the Run command prompt by pressing the Windows key and R.
- To open Command Prompt with administrative privileges, use Ctrl + Shift + Enter after entering cmd in the Run text field.
- Type the following command into the Command Prompt window and press Enter to run it:
ipconfig /all
4. Just go down a little ways and jot down the IPv4 Address that you find there.
5. Copy the IPv4 Address from the text field and paste it into the Run dialogue box.
6. Press the enter key and check to see if you were able to establish a connection with the distant machine.
TCP/IP NetBIOS Helper Service Restart
If you want to connect to a remote device and transfer data to it, you’ll need to make sure that Windows has the required services running. The TCP/IP NetBIOS Helper service is a crucial component here. So, if you want to be sure it’s functioning properly, you should restart it.
The necessary steps are as follows:
- Run can be accessed by pressing Win + R.
- Simply enter services.msc into Run and press Enter to open the Services Management Console.
- Locate TCP/IP NetBIOS Helper in the Services pane and then right-click it.
- From the menu that appears, select “Properties.”
- To terminate the process, select the Cancel option in the subsequent dialogue.
- Click the Start button after waiting a moment.
- Select Automatic from the drop-down menu that appears next to Startup type.
- To commit your modifications, select Apply > OK.
Once you’ve completed the steps, see if they resolve the problem.
Also Read:
Switch on SMB 1.0
The SMB (Server Message Block) protocol is a Windows-specific method of sharing network resources like documents and printers. Windows has this feature disabled by default, but turning it on will allow you to connect to a remote computer and transfer files across a network.
By enabling file sharing in this way, we may easily collaborate on projects. However, after using it, you should turn it off because it has security flaws that could compromise your computer.
So, here’s what you have to do:
- To access the Control Panel, type it into Windows’ search bar and then hit the Open button.
- Select Programs > Programs and Features in the new window that just popped up.
- The option to toggle Windows features on or off may be found in the menu’s left-hand side.
- Find the option labelled “SMB 1.0/CIFS File sharing support,” and then click the box next to it.
- Once you’ve made the necessary adjustments and clicked OK to save them, you can see if the problem has been resolved.


")


")


