
You’ve recorded a video or made a film, but that’s only half the battle. The post-processing stage, or editing the video, is the following half of the process. This level necessitates a solid mix of technical expertise and originality.
Many people believe that video editing is a challenging task. However, this is not the case. Once you’ve mastered the fundamentals of editing and have the correct tools at your disposal, it becomes a breeze!
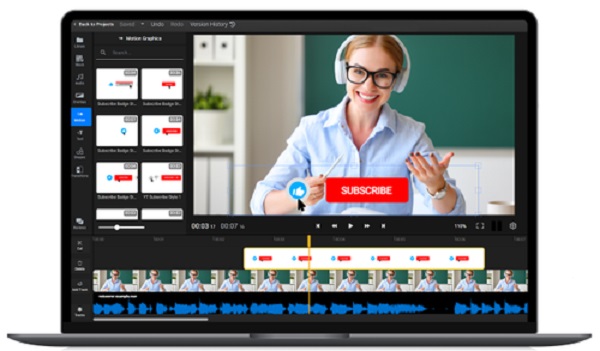
Almost any problem you can think of can be solved by searching the internet, including video editing. Use an online editor or download and set up a programme to do the job for yourself Video editing is also a simple process that everyone can pick up.
How To Edit Videos Online Beginner Guide
With a few simple pointers and techniques, this article will make video editing more approachable for you.
1. Making Use of the Correct Technology
To begin editing a video, you must first select the most appropriate video editing programme for your needs. There are a variety of editing programmes available online, but some are more effective than others. For the greatest results, don’t get the most up-to-date editing software; instead, find out what works best for you.
Adobe Premiere Pro, DaVinci Resolve, Corel VideoStudio, Pinnacle Studio, Apple Final Cut Pro X, and Filmora from Wondershare are some of the best video editing tools available.
Autodesk Smoke, Lightworks, and Sony Vegas are some of the lesser-known but still helpful alternative editing softwares out there.
2. Creating a Strategy
Start your video editing process with a well-thought-out strategy. Video editing can be a time-consuming chore if you don’t have a strategy in place. As long as you are familiar with the material you intend to edit and have a clear idea of how to start, the process will go smoothly.
Prior to beginning the editing process, it is imperative that you establish your goals for the footage you intend to use. You should have a clear idea of the point you’re trying to make with the video before you start filming. You can use this information when you begin editing to make better decisions.
Second, make sure you’re familiar with the material you’ve already got on hand. Rather of watching it repeatedly while editing, it is preferable to watch it once and then remove the unneeded clips and pictures. You’ll save time and have an easier time editing if you do this.
3. Creating a Standard Timetable
A rough graphic representation of the final video’s timeline is called a storyboard. It’s now time to begin editing the video by arranging clips according to your strategy. Your finished video takes shape in the timeline.
4. Start the Editing Process
A sequence of raw clips on your timeline is all that is required to begin editing them. Start by deleting unnecessary stuff from the video to make it easier to follow the flow of the story.
The blade tool is a commonly used editing tool. Clips will be trimmed and split no matter where you set the tool. A blade tool isn’t included in every piece of software.
To trim a clip using this type of software, you’ll need to grasp and drag the clip’s heads and tails. The clips can’t be separated, so you’ll have to use multiple copies of them.
Trim the clips to a precise length. Don’t be afraid to show the audience what they need to see.
As you edit your videos, make sure that the transitions between the clips are smooth and seamless. Make sure the audience isn’t distracted by any interruptions in the narrative flow.
5. Splitting the Clips
Segmenting the clips can be really helpful. In certain cases, a single video clip contains two important scenes. In some cases, it may not seem well to show these scenes sequentially.
Also, letting go of these scenes might not be the greatest decision. Splitting the clip is the best solution in these circumstances. Once all the clips have been recorded, they can be put together into a single video.
Splitting a video to insert a reaction shot in the middle, for example. This is a great way to show the crowd’s excitement when a batsman knocks a six in a cricket match!
6. Adding on Top of Each Other
When it comes to video editing, this is a basic but effective trick. To construct a deep visual narrative, layering allows you to overwrite and layer numerous clips. This is accomplished in the edit by stacking multiple clips on top of one another.
Splitting clips was discussed in the preceding paragraph. In other cases, it may not be required. Clips can be stacked on top of one another. Using this method, you may show the batsman’s shot while playing the crowd’s reactions in the background.
7. Reducing
There are many steps involved in video editing, including clipping and splitting, and assembling segments. As you continue to edit the film, look for methods to pare it down to the essentials.
Removing a scene is the greatest option if it doesn’t compromise the story or the video’s quality. You’ll be able to communicate with your audience in a way that’s both direct and understandable.
8. It is time to add audio tracks!
The video’s audio is equally as crucial as its images. Listen to the clips as you go through the process of editing and separating them. If you want your audience to be able to understand the audio track, you need to make it crystal clear.
Adobe Premiere Pro, a popular video editing programme, includes a number of features for adjusting audio while a video is being edited. Other free or low-cost video editors may not have this feature, but you may still modify the clip volume in those programmes.
The YouTube video editor can also be used to edit videos. On the platform, it’s readily available and simple to utilise.
The End Result
After you’ve finished editing, you can export your video at the highest quality setting. By doing this, you may rest assured that your video’s quality will not be harmed in any way. You should, however, export smaller and higher-quality versions of your video if you plan to use it on a website or social media platform.


")


")


